Hi! I wanted to give you this adorable tutorial. I found the original one
here. Now beings that I have only a boy, I question why I am even making this!!! I decided to make it for my best friend's little girl! This is just the cutest little thing!
Here are your supplies:
1. Solid pink ribbon is 3/8 in grosgrain ribbon - 26 inches total (one 101/2 inch piece and one 81/2 inch piece) Those are the butterfly wings. You will need one piece of 7 inch for the korker (spiral) middle.
2. Brown/Pink ribbon 5/8 in sheer ribbon - 19 inches total (one 10/1/2 inch and one 8 1/2 inch piece).
3. hot glue and gun
4. lighter or wood burner to heat seal your ends
5. modge podge - my version is half water, half elmers glue
6. dowel rod and two clothes pin clips
The tutorial:
 |
| First I heat sealed all the edges after I cut them to the lengths I wanted. |
 |
| Take a dowel rod and wrap your modge podge soaked ribbon around it. Bake it at 275 for 30 minutes |
 |
| Cover in modge podge and microwave for 1 minute |
 |
| Take your first ribbon and put it on the dowel to mark it. Glue it in the middle. |
 |
| flip each side and glue |
 |
| fold the dotted brown and glue into place. |
 |
| you will wrap them in the same place you did the top of the butterfly. |
 |
| You can see (sideways) the the top half of the butterfly is done. Sorry the picture is sideways! |
 |
| It is FAR easier to use two clothespins - I used straight pins and it was hard to do!!! |
 |
| Lined clip - tutorial later! |
 |
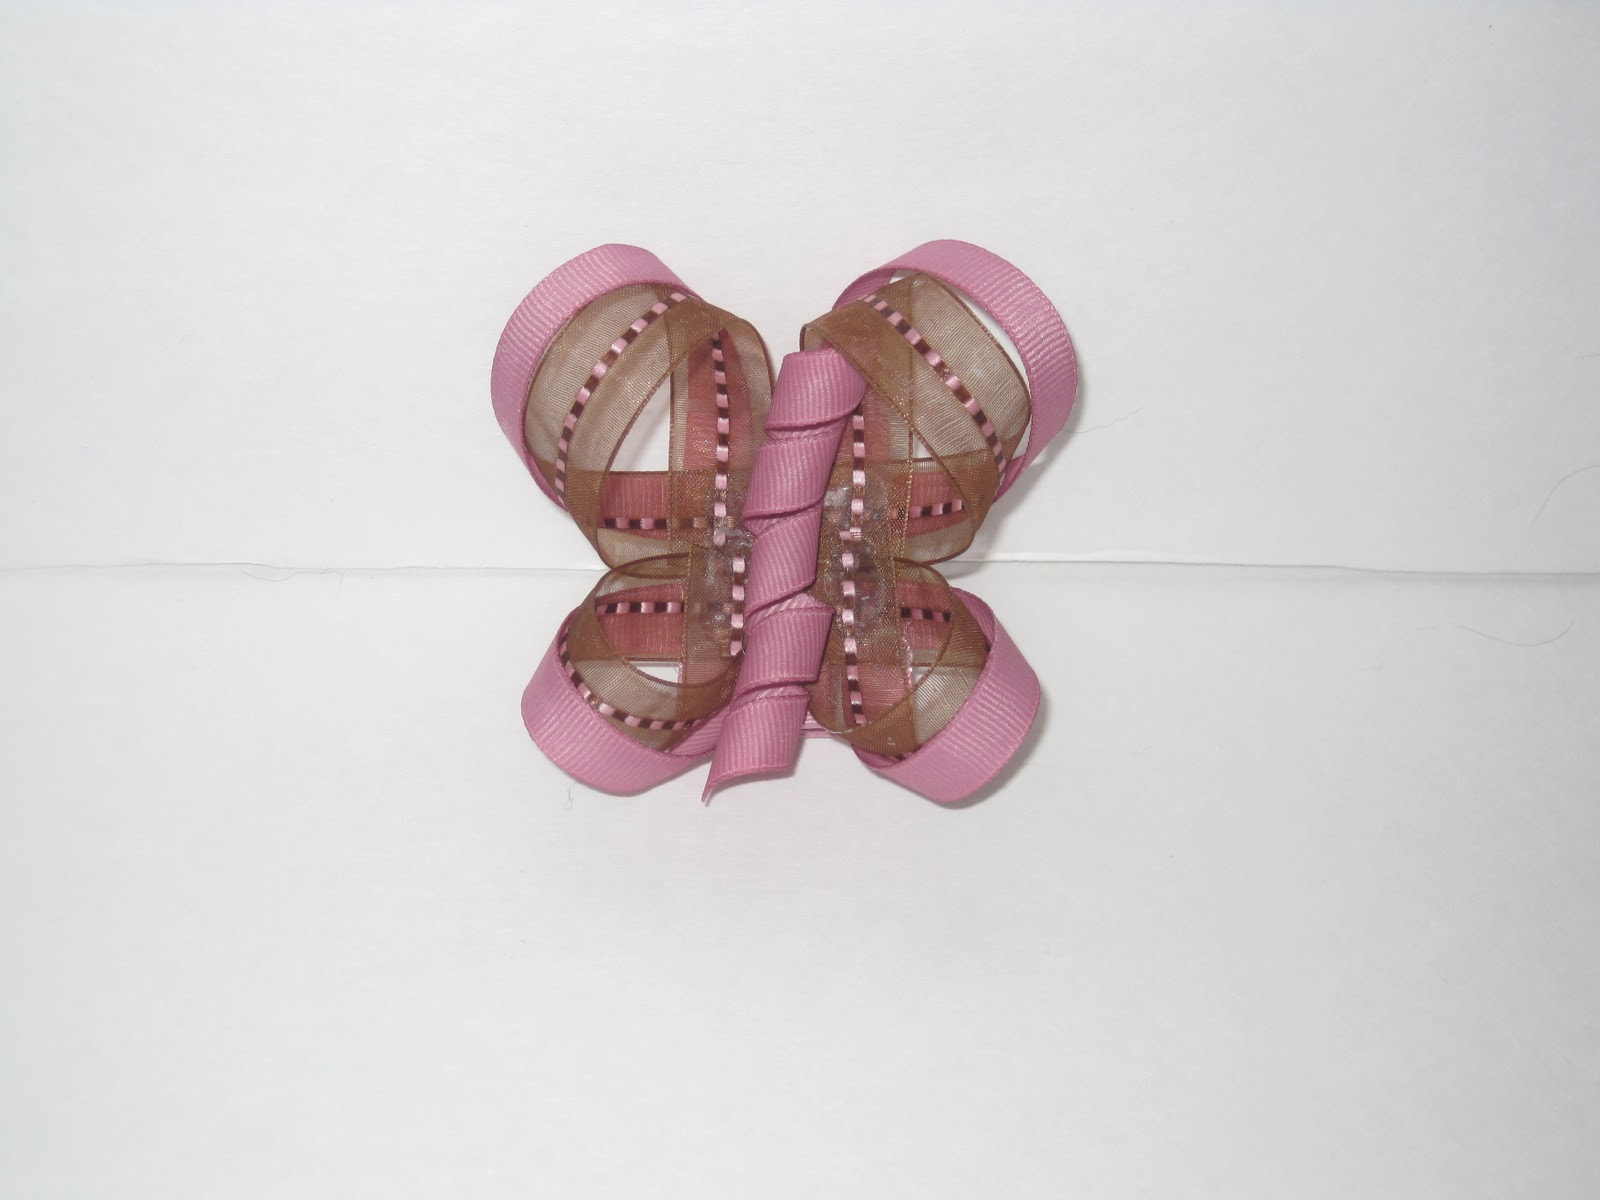
| Once you get the bottom butterfly done, you wrap the dotted just like you did the top. Then glue on the korker spiral one. |
|
|  |
| I think this little lady is so stinking cute!!!! |
I hope you enjoyed looking at this little lady! I will do a tutorial on the heart piggy tail holders soon!
Be sure to leave a comment and be a follower! We only need 2 more followers for my giveaway!!!!
loading..


No comments